Our Process
Starts with design
The process of creating each piece of jewelry begins with inspiration.
1. Design
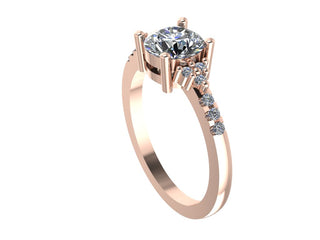
We design the ring for our stock or you design the ring for your custom order.

2. CAD
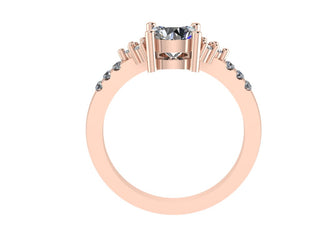
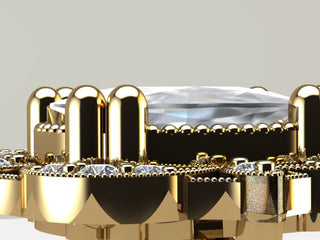
A computer generated version of the ring is created in CAD.
We scan the diamond into the computer then trace the diamond to get exact measurements of the stone including the stone depth and surface of the stone. Each one of our diamonds are unique because they are cut by hand, so we can never use the same model twice. Every setting has to be made to fit a specific stone. We never mass produce a setting and pop a stone into a premade setting.
3. Model is made
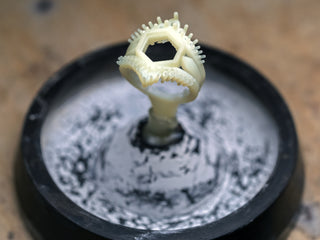
We 3D print a resin model of the ring. We do not 3D print every detail of the ring, and use a lot of hand work with all of our pieces. Every tiny diamond set into the band is done by hand and never cast in place. We hand carve the seat into the metal for every tiny diamond to produce the most secure and visually pleasing settings. For example our Jules and Eliza rings have “cut down” settings in the band, which are all done by hand while viewed through a microscope.
4. Treed up
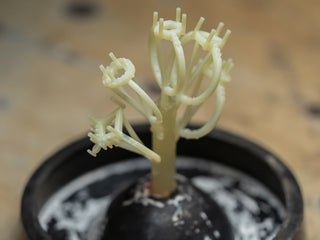
The resin model of the ring is attached to a small sprue (a channel for the liquid metal to flow through) and then “treed” up to a larger sprue along with many other rings.
5. Investing
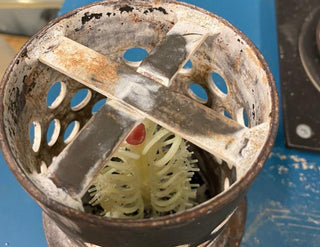
The “tree” of resin models is then put into a steel flask. Investment that looks like plaster is poured into the steel flask and over all the resin models.
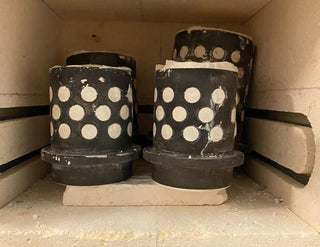
6. Burn Out
The steel flask is put into a very hot oven and the resin and wax is burnt out. This is referred to as the “lost wax” or "lost resin" process. A cavity of each ring is left within the investment.
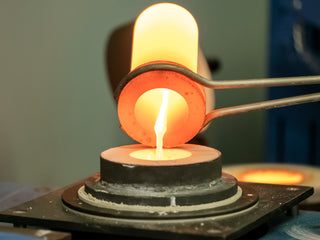
7. Gold Casting
Gold is liquified and melted down in a machine or by a handheld torch. Then the liquid gold is poured into the steel flask. The gold fills in the cavities that were created when the resin models were “burnt out.”
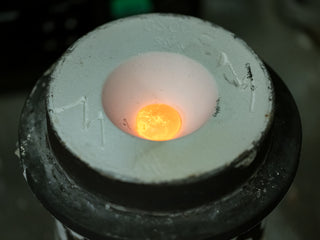
8. Completed Flask
The flask is filled with gold and a button is formed on top, which is a round cap of gold that facilitates even cooling of the metal. The entire tree of rings is now one solid cast piece.
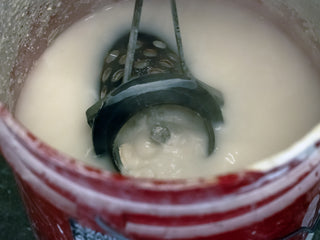
9. Quenching
The hot steel flask that just had the gold poured into it is then submerged into a bucket of water. Steam rises and the water bubbles as the investment is broken away from the metal. Then we reach inside the bucket of water and take out the cast rings, which are an identical replica of the “treed” up resin rings.
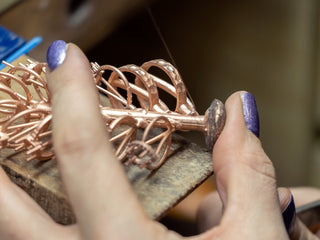
10. Cutting & Cleaning Supports
The individual rings are cut off the larger tree and the residual investment is cleaned off.
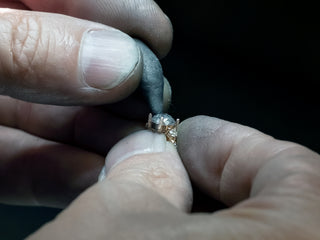
11. Stone Setting
Using a microscope we set every stone. We use a lot of different methods for stone setting, all done by hand; cut down setting for setting diamonds in the band, channel setting, bright setting, bead setting with hand raised not 3D printed beads. Our Arwen and Aela setting rings have Milgrain which is done by hand. Our Leaf Prong ring has hand engraved leaf vein details. Our team of stone setters have a combined experience of over 45 years. Our head stone setter is from France and was trained in the European method of stone setting decades ago.